
The object of hate: A green wicker chest

I found that chest at the thrift store last year and funnily it was painted in a similar shade of green like my ugly mirror, before i gave it a makeover. Needless to say that i never intended to keep it that way and had a paintjob in mind the moment i saw it in the store.
I knew i wanted a white or pale color to match our bedroom and actually had the vision of a shabby chic look, but I changed my mind while spraypainting the chest.
Total material costs: 11,21€ ( as always: i'm not counting the basic items)
Time: Two hours
Level of difficulty: Easy
Materials/ Tools:
- 1 ugly old chest, 6€
- 1 bottle of white spray paint, 4,99€
- Used potatoe netting, 0€
- Sanding Paper, 0€ ( gift from hubby)
- Modelling Paste, 4,50€ per 1kg ( i used approx. 50g, that makes 22 Cent for this project)
- Shells, 0€
- Hot Glue Gun
- Saltdough Starfish
- Wool
- Black Tea
- Acrylic Paint ( just a small dab)
There were three possibilities how to paint the chest.
#1: Applying paint with a paintbrush at zero costs

I did not like the way it looked, moreover i wasn't willing to waste my precious white acrylic paint. It's expensive and i need it for more important projects.
#2: Thoroughly sanding off the chest to restore the wicker's orginal color, instead of painting it ( another no-cost option)

Again, i did not like the look, moreover that would have taken forever and wasted tons of sandpaper sheets
#3: Spray Paint: Probably the quickest and easiest solution.
Ok, so i had to bite the bullet and spend money on a bottle of white spray paint. I chose a matte white from the cheapest brand i could find.
At first i sanded off the chest's surface slightly to roughen the structure. It didn't remove much of the green color and probably wasn't necessary at all, but i wanted to do an accurate job.

I guess the next step doesn't need any further instructions: I spraypainted the chest
( Little sidenote to myself: Never use spray paint on a windy day again! )
While i applied the first coat of paint i thought i could as well freshen up the paint of my two starfish that i made from saltdough several months ago:

Frugal me did not want to waste any spraypaint, therefore i used the chest as an underlay while treating the starfish so that the wicker could soak up the swirling paint drizzle. And that's when i developed the idea of creating a "beachy treasure trove".

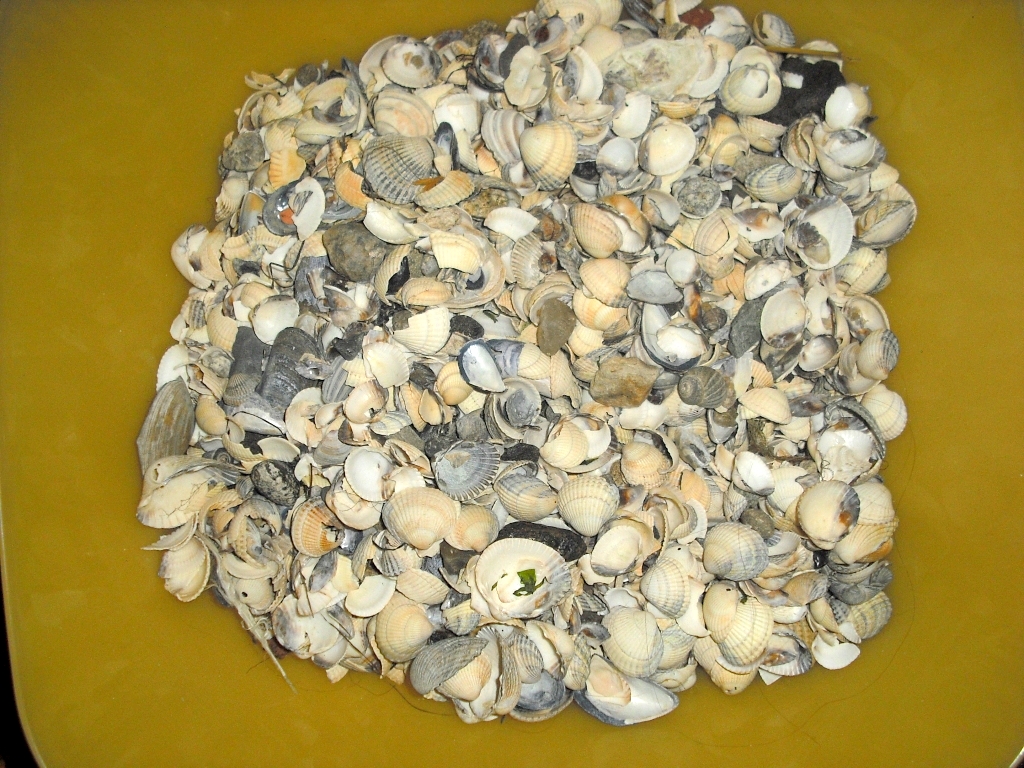
I grew up at the North Sea and my parents still live there. Last week i asked them to collect a bunch of shells as part of my birthday gift and when they came to visit us this week they gave me a shopping bag full of shells. Perfect!
I wanted to include a fishing net but of course i do not own one.
I began to prepare dinner since the painted chest needed time to dry anyway. MisterT and i rarely eat potatoes but luckily my parents insisted on having potatoes that day, et voilà: while peeling the potatoes i thought "Hey, i could use that potatoe netting as my fishing net!"
However the orange color does not really look like a fishing net. So i mixed a droplet of grey and brown acrylic paint with a little bit of water and painted the netting until i liked the result. Um wait, i intended to use acrylic paint, but stupid me grabbed oil paint instead and wondered about its weird consistency in combination with water...


I let it dry, cut it apart and hot-glued on some shells in a random order. I even found small pieces of algaes among the shells. Great!
Then i carefully attached the finished netting and both starfish to the chest's lid with hot glue.


Up next i made six sand dollars from air dry modelling paste.
I really like sand dollars but i but have never seen one in reality. I guess they do not live here hence i only know them from photos, so i did a quick Google search to find some inspiration pics and even learned that sand dollars are living creatures. How cute is that? Seriously, i didn't know they are alive, i always assumed they are like stones or cuttlebones.
Working with modelling paste is fun and pretty easy. I took a small amount of paste ( ca. the size of a hazelnut), rolled it between my palms to form a ball and pressed it flat with a rolling pin. Modelling paste turns bright white once it's dry, so i damped the surface with black tea to achieve a more natural look. Lastly i carved the pattern into the surface with a wooden skewer.

I let the sand dollars dry over night, threaded them on a piece of wool and knotted the sand dollar garland to the chest.

And that's it!


P.S. I call it the "treasure trove" because the chest is the place where i store my favorite and most precious christmas items, stockings and special tree ornaments. My treasures!
I'm linking this project up to the Linky Parties of my favorite blogs,and i'm also linking up to the 31 days of Spray Paint challenge at the DIY Club.
I would LOVE to win that awesome 6-pack of KRYLON spray-paint!
