This is the tutorial for the coffee capsules tree i made last week as a christmas gift.
Unfortunately i did not take many photos for two reasons:
1. I never planned on writing a tutorial because i did not expect the tree to turn out that beautiful ( i know, i know, self-praise stinks...)
2. I was in such a flow while working on it that i totally forgot the world around me
Trees like this make great home decoration or wedding reception centerpieces if you decorate them with tealight candleholders instead of the coffee capsules. Spray paint the entire creation in white, black or turquoise for a modern look, light pink for a romantic style or glitter to make it fancy. Instead of paper flowers you could attach fake diamonds, crystals, pearls, butterflies, seasonal fruit or anything else that comes to your mind.
Total costs: 0, as i already had all the materials. Otherwise it would have been approx. 10-15€
Total time: 5-6 hours, plus one night drying time for the Plaster of Paris
Materials:
- a dry branch, not a fresh one! Fresh branches shrink after a while and the tree will become unstable then
- empty tin can ( or a vase or planter)
- plaster of paris + water
- old spoon or stick
- floral tape
- wire
- pliers
- fabric
- hot glue gun
- paper flowers
- coffee capsules
- old newspaper to protect the floor
Instructions:
1. Fill Plaster of Paris into the tin can ( half-full) and add some water. Not too much, just enough to still be able to stir the mixture ( the thicker the paste the faster it dries) with an old spoon or such. Once the mixture is smooth and lump-free place the branch into the center of the can and hold it for a minute or so, until the mixture is solid enough to hold the branch in its place on its own.
Now let it dry according to the manufacturers instructions. It usually takes about 24 hours to dry completely, but i placed mine near the radiator and could continue working after 12 hours.
2. The next step is to attach the "wire mini twigs". Start by bending a loop at one end ( use one of the capsules as a model to make sure the loop has the perfect size) then twist the wire around itself to prevent the loop from coming open. Now double that length and cut the wire. Just measure by eye, it doesn't have to be the exact same length. Wrap the other end of the wire around the branch and secure it by twisting it around itself. Now it should look somehow like this:
3. Repeat until you have attached the desired amount of wire-twigs.
4. Up next secure each wire-twig with hot glue. Apply small dabs of glue between the wire and the branch as marked in the photo below and let cool:
5. So far my tree looked like this:
As you can see the wire does not look pretty at all and it makes sense to cover it. At first i tried wrapping it with twine but that turned out to be a nightmare task which would have taken several hours, so i decided to use brown floral tape instead.
Start by covering the wire attached to the branch and then continue to wrap the tape around the wire of the mini twigs, until it looks similar to this:
( I was lazy and skipped wrapping the loops)
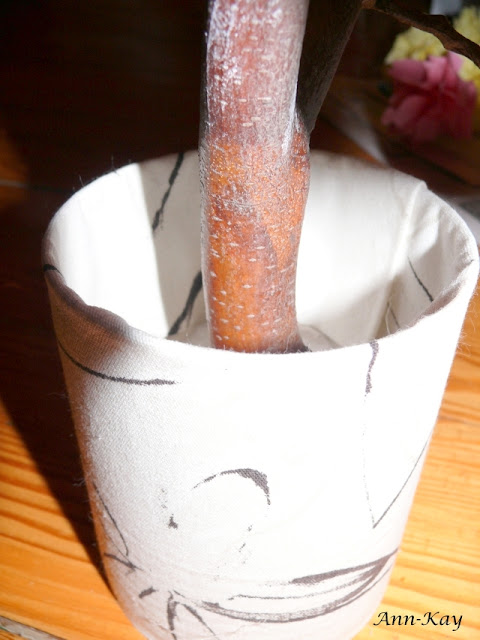
6. Up next cover the tin can with a piece of fabric and secure it with hot glue.
7. Lastly, attach the flowers ( or any other embellishments) with hot glue.
I don't have a tutorial for the paper roses because i made them them several months ago and since i create so many paper flowers i can't remember all the details. But you can find lots of tutorials via Google or Martha Stewart.
And that's it!
This project is linked up to my favorite Linky Parties


