DIY Wedding Dress Hanger Tutorial
I was recently accepted as a DIY contributor for Polka Dot Bride. In case you don't know Polka Dot Bride, let me tell you it is a wonderful australian wedding blog, and one of my favorite blogs of all ever since i started planning my own wedding almost three years ago.
My first project was published a few days ago: a DIY floral fabric dress hanger; perfect for your gown or the bridesmaids dresses.

You can read the full tutorial here on Polka Dot Made- the DIY section of Polka Dot Bride.
My first project was published a few days ago: a DIY floral fabric dress hanger; perfect for your gown or the bridesmaids dresses.

You can read the full tutorial here on Polka Dot Made- the DIY section of Polka Dot Bride.
Advent Calendar #1 - 'Tis the Season

This is the best christmas card ever. Ever!
It doesn't really make sense to give my husband a christmas card. It is kind of like giving a card to myself, because sooner or later almost everything he gets from me ends up in our "Our Stuff" memory box.
But the moment i saw it, i knew that he will LOVE it, so i had to buy it.
The card is by JulieAnnArt on Etsy. Check out her shop; all her cards are super cute and funny!
Sketch Challenge: Above
Today i am participating in the "Ruby Rock-It sketch contest on the Page Maps blog.
This is the sketch:
My photo:
The photo was taken a few years ago in my former fabulous life as a flight attendant. It's the picture of another plane crossing our route.
And the final layout:
To create the page i used brown packaging paper and plain white paper. Both are crumpled, distressed with Tim Holtz Distress Ink Vintage Photo and sprayed with green paint and brown watercolor.
( Real mists are not in my budget right now, but acrylic paint thinned with water in a perfume spray bottle creates the same effect).
I also included paper from the Glitz Design Happy Travels collection as well as two metal signs from airplane galley containers.
Btw, i am in no way related with First Choice Airways, but isn't that the most awesome name for an airline??
LOVE it!!
Other materials used:
- Heidi Grace border
- turquoise ink pad
- green acrylic paint
- light brown watercolor
- burlap
- cardstock
- my Silhouette Cameo
- foam stickers
- a compass stamp
- a piece of burlap
- oversized paperclip
This is the sketch:
My photo:
The photo was taken a few years ago in my former fabulous life as a flight attendant. It's the picture of another plane crossing our route.
And the final layout:
To create the page i used brown packaging paper and plain white paper. Both are crumpled, distressed with Tim Holtz Distress Ink Vintage Photo and sprayed with green paint and brown watercolor.
( Real mists are not in my budget right now, but acrylic paint thinned with water in a perfume spray bottle creates the same effect).
I also included paper from the Glitz Design Happy Travels collection as well as two metal signs from airplane galley containers.
Btw, i am in no way related with First Choice Airways, but isn't that the most awesome name for an airline??
LOVE it!!
Other materials used:
- Heidi Grace border
- turquoise ink pad
- green acrylic paint
- light brown watercolor
- burlap
- cardstock
- my Silhouette Cameo
- foam stickers
- a compass stamp
- a piece of burlap
- oversized paperclip
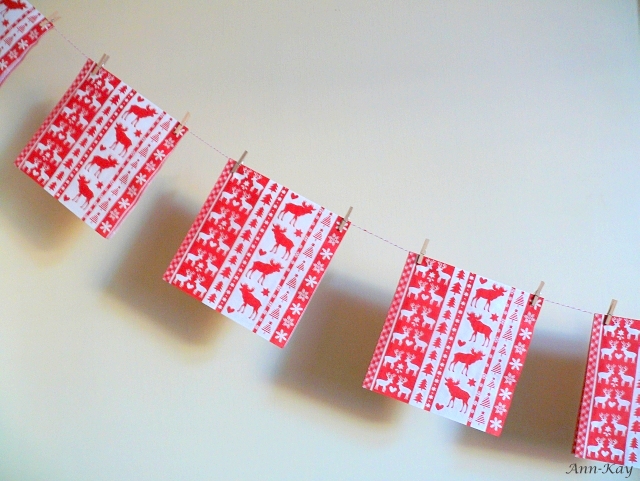
DIY: The easiest and quickest Christmas Bunting EVER
Travel: A Cruise to Norway (or two)
In 2010 we went on a mini cruise to Oslo/ Norway. This week we booked the same cruise again, right after the cruise company had published a coupon code in the internet: a three-day cruise for two people for 0€!!!
You can't beat that!
Turned out later that the publication was a mistake and the code was actually intended to be used by employees only, but since the company had already confirmed our booking we were allowed to go.
So, here we go:
You can't beat that!
Turned out later that the publication was a mistake and the code was actually intended to be used by employees only, but since the company had already confirmed our booking we were allowed to go.
So, here we go:
Our Wedding Album - The Cover
Our wedding album is almost finished and i can finally start sharing some photos.

To match the style of our wedding, I kept the design clean and simple on most pages, moreover i did not want to end up with an ultra-fat album, so i tried to avoid adding too much dimensional stuff, such as stickers and embellishments.
The album base is made from used packaging material such as cereal boxes and similar, and for every page i share i will try to give credit to the paper designers, as far as i remember.
So, let's start with the album cover:
Entirely created from Melissa Frances "Fifth Avenue" as well as a DIY clay starfish, Baker's Twine from The Twinery, Divine Twine from Whisker Graphics, and jute twine.

To match the style of our wedding, I kept the design clean and simple on most pages, moreover i did not want to end up with an ultra-fat album, so i tried to avoid adding too much dimensional stuff, such as stickers and embellishments.
The album base is made from used packaging material such as cereal boxes and similar, and for every page i share i will try to give credit to the paper designers, as far as i remember.
So, let's start with the album cover:
Entirely created from Melissa Frances "Fifth Avenue" as well as a DIY clay starfish, Baker's Twine from The Twinery, Divine Twine from Whisker Graphics, and jute twine.
Halloween 2012
So far i am not really in the mood for Halloween for three reasons:
1. I am desperately trying to declutter my huge stash of craft supplies
2. I am desperately working on my wedding album to get it finished before it's time to decorate for christmas
3. My job sucks and i am desperately trying to find a new one. I mean, the people there are really nice and it is not the worst job in the world, but it is drop dead boring and the mental challenge tends towards zero. People keep telling me that this is normal, every job is boring, that's life, bla bla bla. But it is NOT normal, and this is definitely not the way i want to live my life. I absolutely loved my previous job and miss it terribly, and now i am trying to find a position that i might love equally, preferably in a creative surrounding.
Anyway, back to the Halloween decoration. Due to my lack of motivation this one was done in less than 20 minutes. Its just a few pieces of black window tulle, spiderwebs, my black straw wreath and Spoo-Key banner from last year and some bats that i cut with my Silhouette Cameo.
The template was this free shape of the week.
Editing photos for Halloween seems to be trendy right now, however i simply covered the glass of the frames with transparency foil and used sharpies to make us look like vampires/ zombies. Not fabulous, but funny.
The blood bottle is actually a bottle of strawberry wine and i think the shape fits the Halloween theme perfectly.
That's all. The rest of the decoration is still in its box, and will probably stay there until next year.
Subscribe to:
Posts (Atom)